

What Product Can I Use To Clean And Protect My Stained Tongue-and-groove Ceiling
Welcome to our ultimate guide to tongue and groove boards for ceiling, flooring and walls.
The tongue role of the pieces is a ridge that juts out of the side of the entire board. The groove portion is an inverted department the aforementioned shape and size of the ridge so they can fit tightly into each other. When tongue and groove pieces are installed the pieces are fit together. The short end of the pieces also have the same natural language and groove parts to fit together throughout the unabridged floor.
The main benefits of tongue and groove boards are their interlocking planks that permit for easy installation and remove the need for exposed nail heads. They were first mass produced in the late 1800'southward and presently subsequently become the primary fashion forest flooring was produced. The engineering science backside tongue and groove boards is at present used on much more than floor and includes, wall siding, ceilings and decking. Below we explore a variety of tongue and groove design ideas for your home.
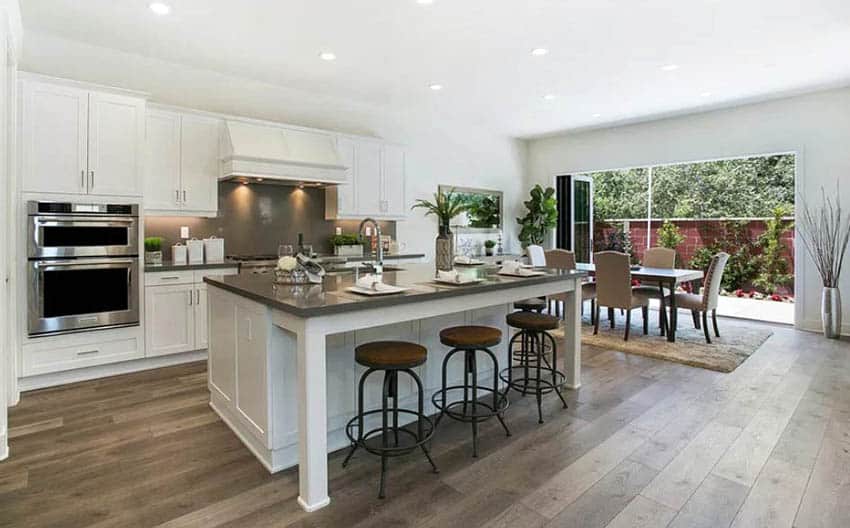
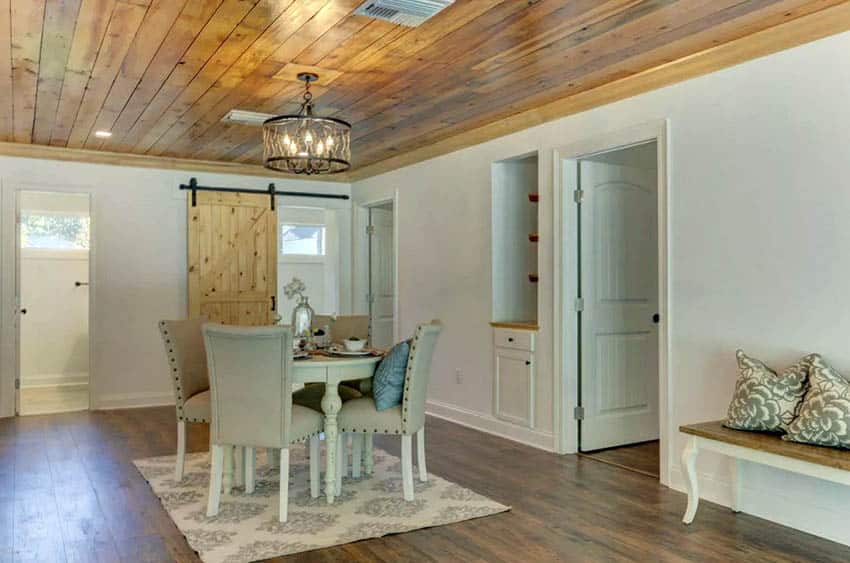
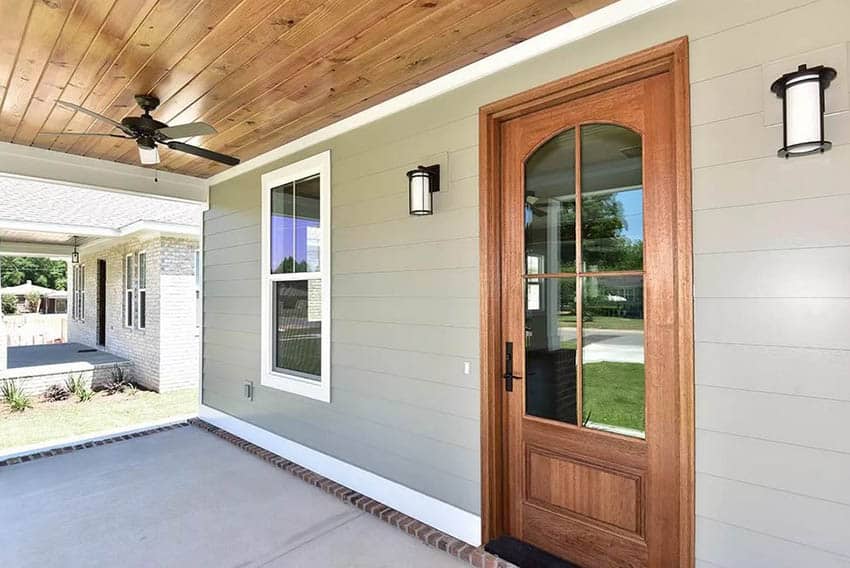
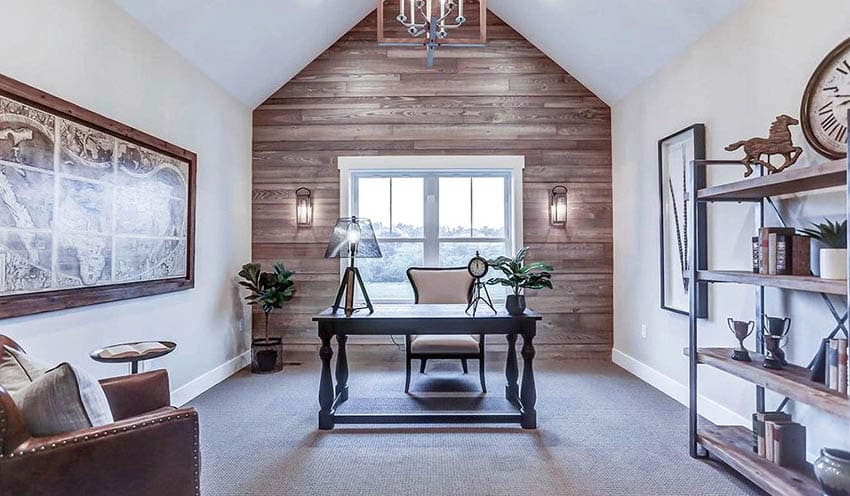
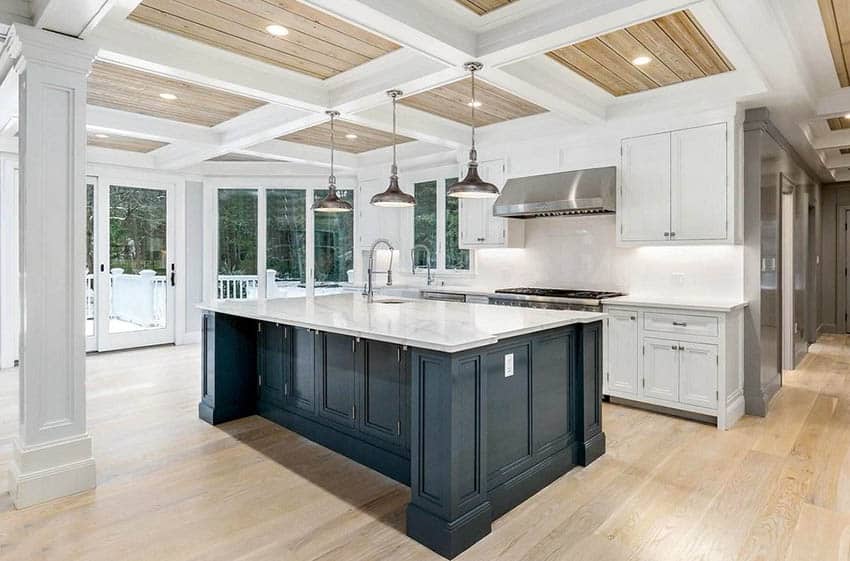
Tongue and Groove Ceiling
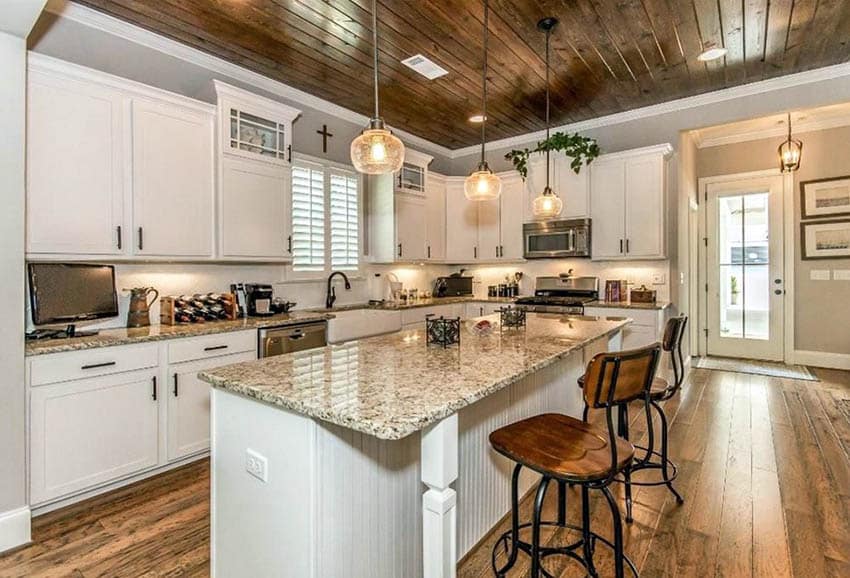
Typically ceilings are washed with drywall, screwed into the joists higher up, which is non a simple chore. A forest tongue and groove can exist a bully alternative. The tongue and groove choice non just creates a simpler install, but also gives a beautiful natural ceiling that adds dimension and interest to the space.
Before you brainstorm the installation process you will demand to mensurate the length and width of your ceiling. Y'all'll detect that nearly ceilings are non exactly the same on all corners. With that in heed make sure your measurements accept in to account the longest and widest measurements to ensure y'all have sufficient materials to consummate the job. With your measurements in paw the next step is to cull the blazon boards or panels you want. Get the dimensions of each board including the width and length of a single lath or console.
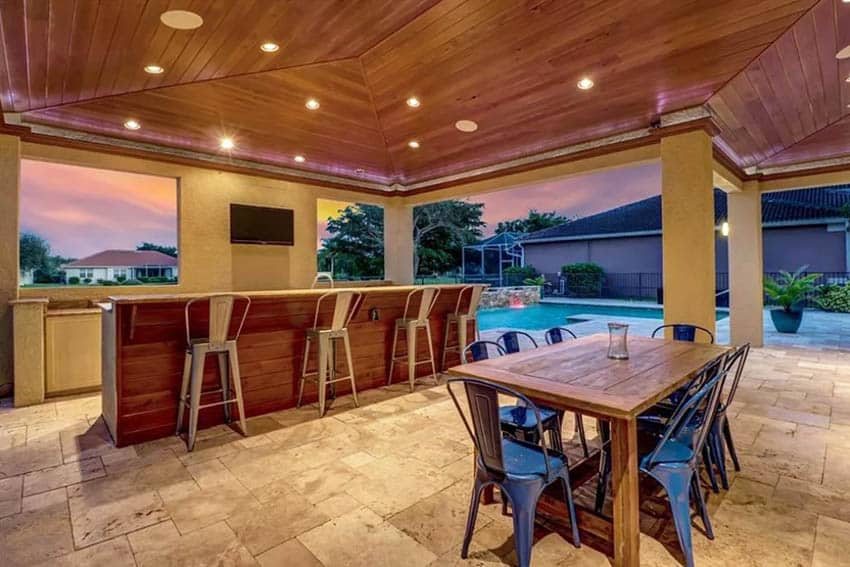
Installing Tongue and Groove Ceiling
On top of that it is important to makes certain that the ends of the lath stop at the center of a ceiling joist. This is and then that planks can be nailed to the ceiling joist to stay in place using cease nails. You should smash through the natural language of the planks to hide the nail heads within the grooved edges of the adjacent plank.
While that sounds easy, the tough part is getting all the pieces to fit into each other perfectly. This is of import to keep everything in direct lines and staying parallel to the walls.
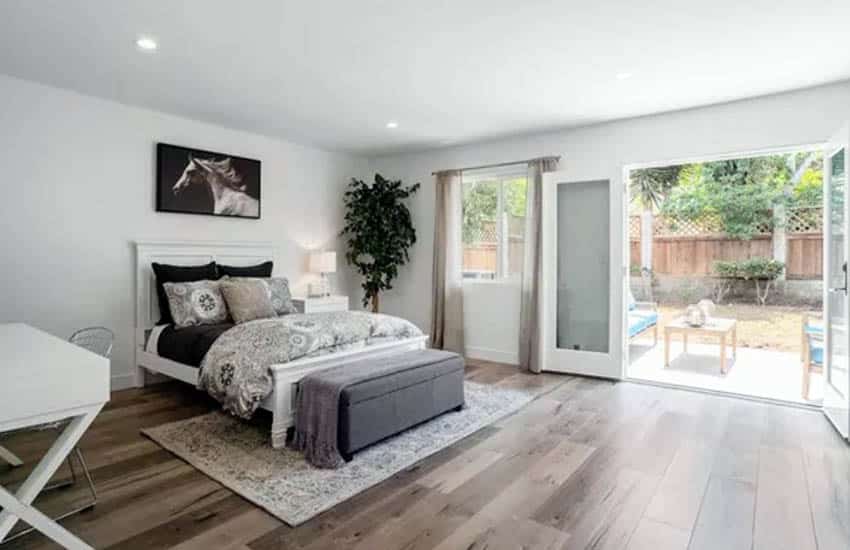
Tongue and Groove Flooring

This method makes for a much more desirable and safety floor roofing. This method began with just forest flooring, but has expanded to many different types of flooring, wood remaining the best uses of the tongue and groove method.
Installing Tongue and Groove Flooring
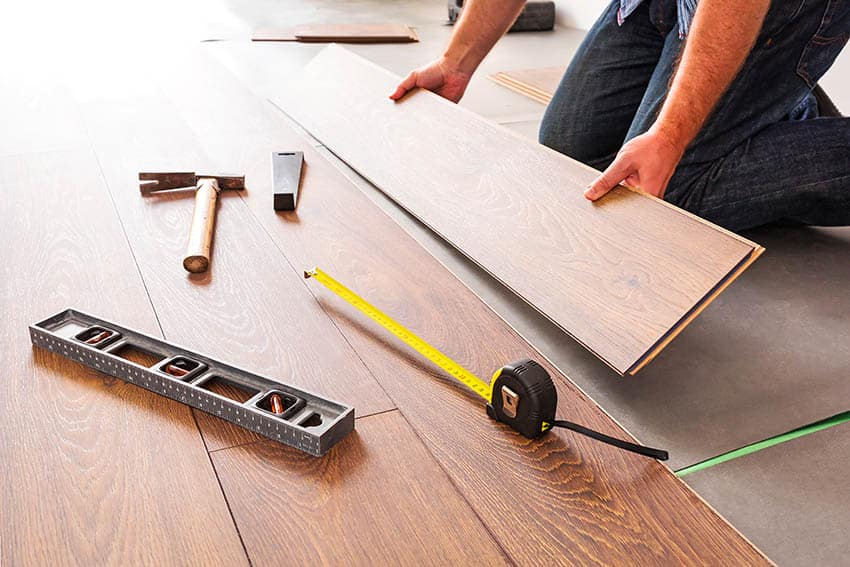
Tongue and Groove Hardwood Flooring
Some other fashion to install tongue and groove floor is to bulldoze the nails at an angle through the tongue function of the piece of hardwood into the subfloor. This is a physically enervating as well as time consuming process; on top of that information technology is typically non done well, which defeats the purpose of having a tongue and groove organisation anyways.
Calculation an underlayment below the hardwood flooring is important to avoid squeaking and excess noise. Felt paper is 1 of the near commonly used underlayments when it comes to woods on woods situations.
Natural language and Groove Engineered Flooring
With the tongues and grooves on engineered flooring everything should snap together. You demand to push downwardly and in at the same time for these to snap into place properly. So use a manufacturer approved cake to tap everything into a snug fit.
Tongue and Groove Porch and Deck Flooring
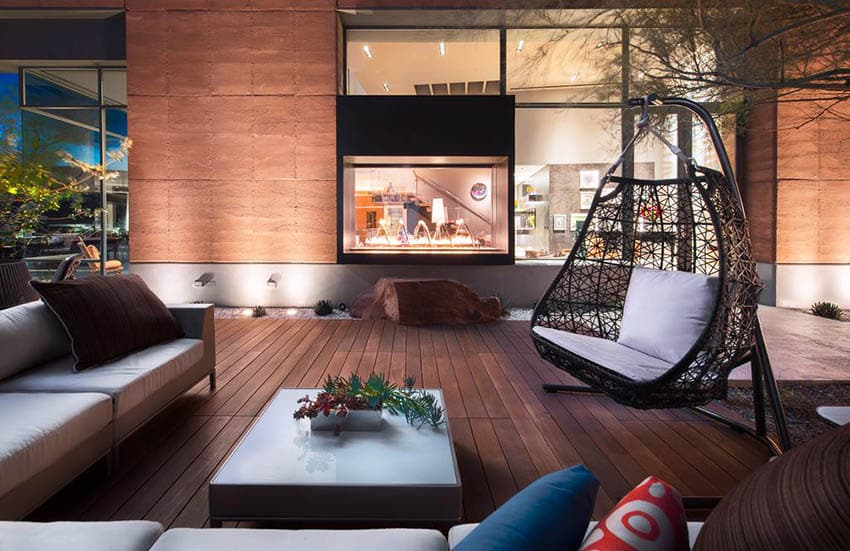
Some good options are: Pressure level treated pino, Ipe, tigerwood, affections'southward centre, mahogany, or redwood. Ipe is expert because of its natural power to resist decay, insects and mold, as well equally being fire resistant. Mahogany is a strong and dumbo slice of wood that is rot resistant, so much so that boats used to be fabricated out of it – and so information technology must be expert for a deck or porch. Redwood is known for its resistance to shrinking, cracking, insects, decay and warping. There are other options for outdoor flooring beside wood too.
Composite wood can exist a not bad choice to expect like wood while getting dissimilar qualities that could be better for the infinite that it is in. Blended decking is comparable to interior luxury vinyl tile in the sense that is a hassle free alternative to wood.
Composite forest is made to exist burn resistance; it is cheaper, and easier to get your hands on. Also, instead of having to select a certain type based on its ability to withstand the elements, blended flooring is known for easy clean ability and resistance to typical outdoor challenges. Composite flooring and wood floor for decks and porches can both be done in the tongue and groove method. The other options (brick, tile, artificial grass, etc) cannot be.
Natural language and Groove Siding
There are a few woods that are specifically recommended for tongue and groove siding (due to resistance, weight, etc.): Pine, spruce, fir cedar, redwood and cypress.
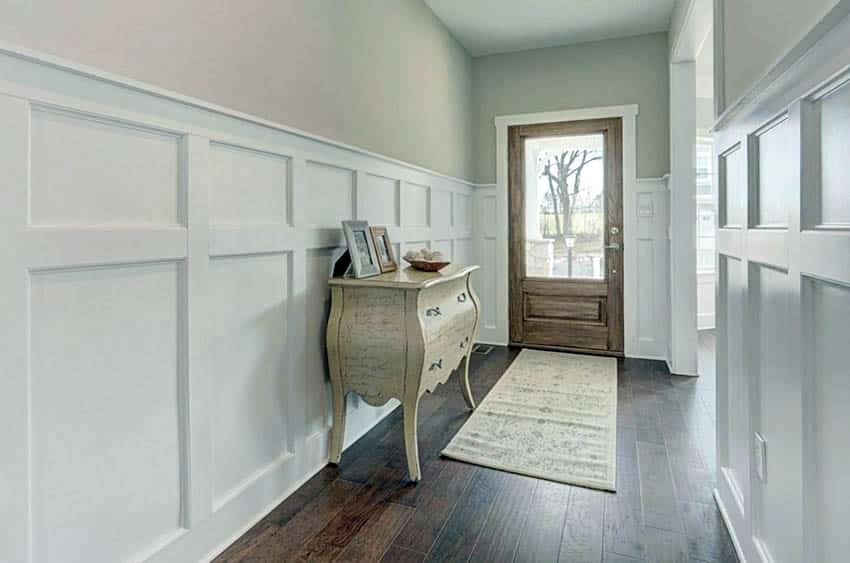
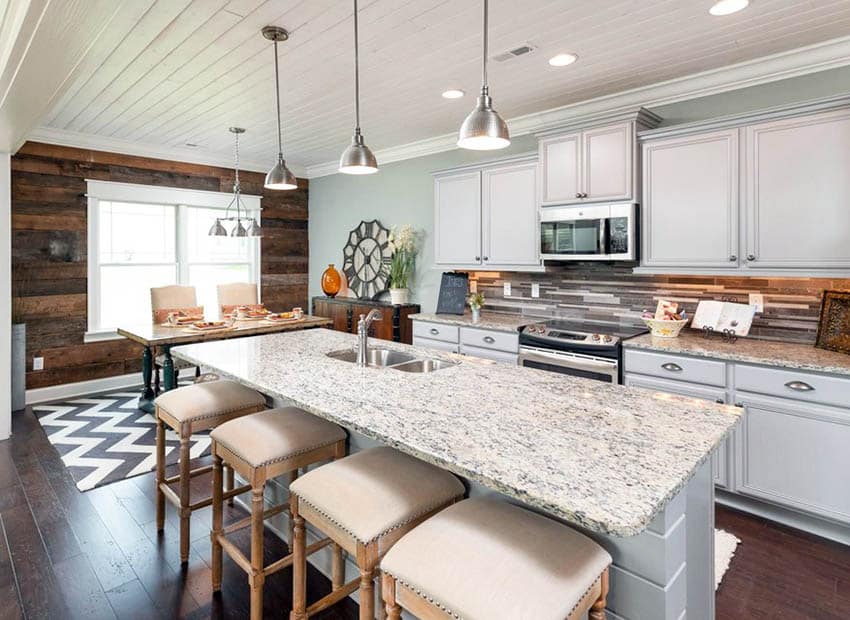
Tongue and Groove Paneling
Tongue and groove paneling is done as a decorative piece to (typically) the bottom of a wall to add together texture and dimension to the space. This tin be done in most any wood as the weight is not as much of a business concern as it was for the ceiling. There are multiple types of paneling that can be done.
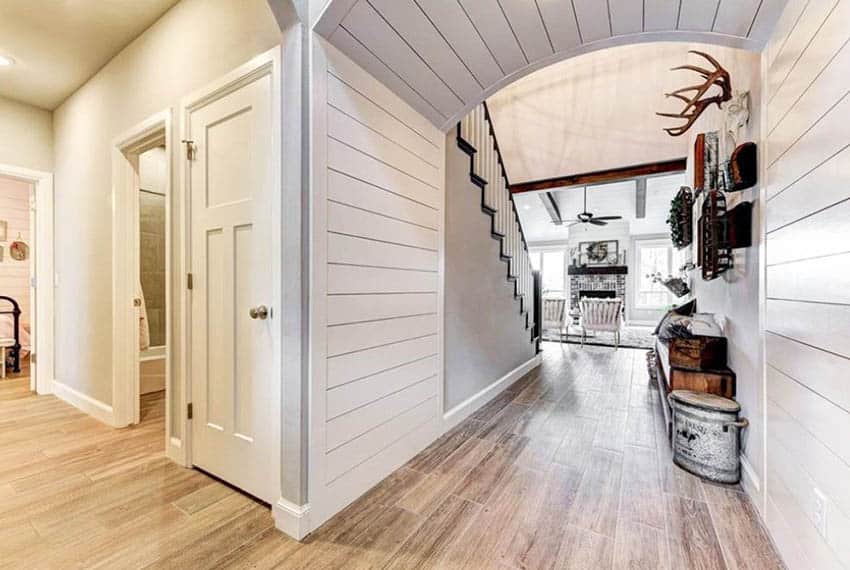
 Natural language and groove shiplap wall siding is an pick for the interior for those who want a nautical themed pattern. Typically shiplap boards sit down on top of each other while overlapping. On the other hand tongue and groove planks are joined by interlocking together.
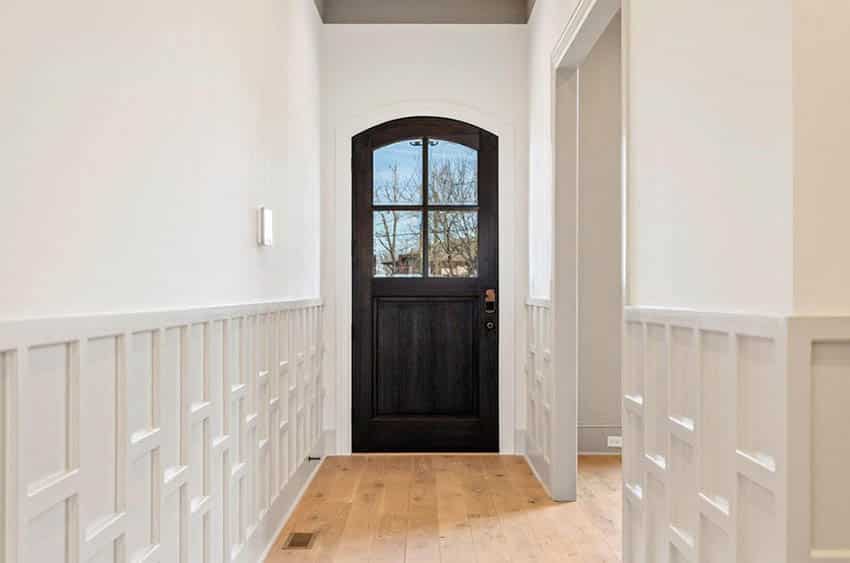
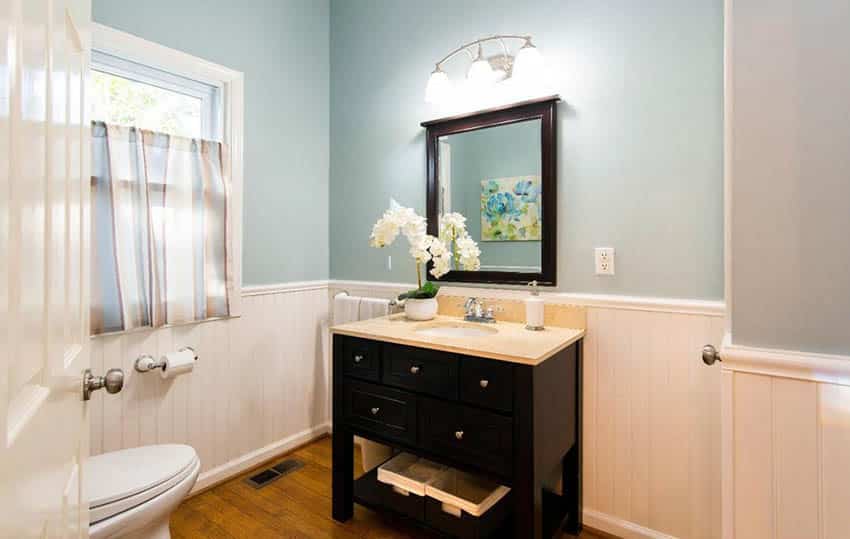
Tongue and Groove Wainscoting
Wainscoting itself has multiple different types that can be used on the paneling done – only some use the natural language and groove method of installation. Popular types of wainscoting are: raised console wainscoting, flat console wainscoting, board and batten, and bead board.
Tongue and Groove Beadboard
Installing Tongue and Groove Wall
Based on the decisions y'all made in the planning process can have outcome on which steps need to be taken to install the planks. Planks that are different sizes or having a V shape requite a dissimilar aesthetic and could accept boosted steps, simply about of the process is pretty straightforward. Some of the supplies needed are: a boom gun, nails, prophylactic mallet and a level or chalk line (for guidance).
Starting with a make clean wall, it tin be painted or not, depending if any of the surface is going to exist shown, merely either style y'all will need to repaint afterward. Outset past finding the studs behind the wall and marking them for easy visibility in the hereafter. The merely places that nails are going to stick are into studs, so you should mark as many as are there.
Start from the bottom up when placing the planks. Every bit woods is a fickle material and is known for expanding and contacting based on the temperature, so practise not being directly confronting the floor (and don't forget to save room for the baseboard as well). This is too the bespeak where it is decided if the planks are going to be parallel with the flooring and/or ceiling or if they are going to be level. This is a personal pick, and sometimes you cannot have both, sometimes you don't even become a choice, depending on the skill of the installer.
When beginning to install the studs make sure that the planks are inserted with the natural language facing upwardly and then there will be the to the lowest degree amount of visible nails. Nailing at an angle through the natural language is a good method. After all the pieces are installed (And any other decorative pieces – like bead board molding) the paneling can be pained or stained to the color desired.
Other things that should be considered when completing this install are: if in that location is going to be whatsoever exposed ends, if there are whatsoever outlets or switches, if there are any cracks or knots that need to exist filled, and of there are any doors or windows that need to be addressed.
Natural language and Groove Cost
Come across beneath for a few examples of certain projects that can differ in prices. It is always practiced to become quotes from the contractors doing the piece of work before buying any material. Information technology is besides beneficial to shop around to find the best pricing for the materials that are needed for the project.
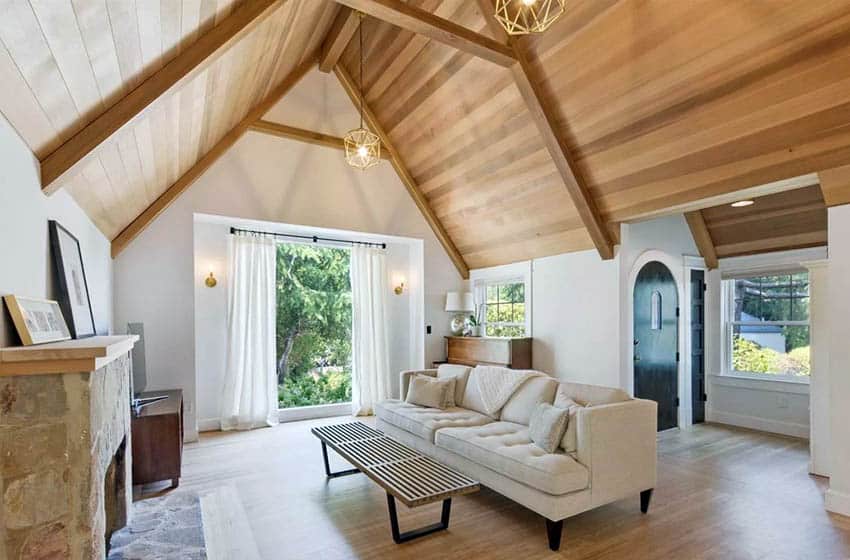
Tongue and Groove Ceiling Cost
This toll is very like to the price of drywalling a ceiling. Labor for installing a ceiling is a bit more due to the difficulty level, and if the ceiling is of an aberrant shape it could raise the toll. For instance, installation on a vaulted ceiling may increase labor costs. Typically outsourcing labor costs most $75 to $125 per 60 minutes.
The fourth dimension to complete a 350 square foot surface area typically takes 11 hours, which is roughly the size of the boilerplate living room. Estimating a few hundred dollars for boosted supplies or tools can spare you from going over budget.
Tongue and Groove Flooring Cost
Materials for this project range from $iv.50 (softwood) to $6.fifty (hardwood) per square foot. Labor for installing flooring is quite a chip more reasonable than the ceiling, but that is because information technology is an easier chore, typically outsourcing the labor costs almost $40 per hour. This is a good task to endeavor your hand at saving a few bucks while learning the merchandise.
Tongue and groove flooring is a pretty piece of cake install since the pieces snap together like a puzzle, and is some cases do not even need to be nailed down to a subfloor. Brand sure to cheque each products specifications before doing an install yourself. A few other costs that could come upwards on a projection similar this is the removal of any below surface, adding an underlayment and any prior disposals or supplies that may be required per the called production.
Shiplap vs Natural language and Groove
While all three of these methods expect similar, they all take distinct artful differences. These methods were brought into existence for siding purposes, but in recent times they have been used for interior walls to create a decorative accent wall, or some other intentionally decorative purpose for interior spaces. A shiplap ceiling can be synthetic by attaching the boards direct to the studs or over drywall.
Shiplap have boards that are made with rabbit joints or V-groove boards, so that they can exist stacked, typically to await like siding. Shiplap has increased strength and stability. These boards overlap each other and rest on top of ane another. Shiplap planks cut in form the face where a step like cut is created from the overlapping.
Tongue and grove boards, on the reverse, join together and interlocking. Natural language and groove planks have the groove running through the center of the edge of the planks.
Another popular and seemingly similar technique to get this look is just creating a planked wall. This is just nailing in pieces of plywood in a decorative style, not having and grooves or ridges or overlap or interlock into annihilation. This method requires a lot more than visible nails unlike the competing two techniques mentioned.
How to Whitewash Tongue and Groove Planks
Whitewash is a detail type of pigment with lime and h2o, or whitening, h2o and pigment. This is one-time referred to as calcimine, kalsomine, calsomine, or lime paint. Basically it is for giving the wood at hand a white paint, while withal being able to see the natural graining and knots of the woods. To exercise this you first stain the wood to the color of your liking (or if information technology is a skilful colour for whitewashing then you can go out it in its natural state).
You lot tin next either mix two parts white paint to i part water, or you can buy specific whitening products for differing qualities and effect. If mixing yourself y'all tin can add together more water for a lighter wash, for a thicker finish with less stain or wood colour showing through the paint, more than white paint should be used.
Once the paint is mixed and gear up, brush it onto the wood with the grain. This helps keep as much of the natural grain without causing whatever unnecessary streaking. After that earlier it dries, use a rag to wipe of any access pigment, over again with the grain to avert streaking. The longer you lot leave the paint on the surface before wiping information technology off gives you a thicker, whiter surface.
Wiping off the pigment is extremely important though, you do not desire it to dry out on the surface. Wiping in long even strokes gives the best look as information technology avoids any lazy brush marks. This can be done on any unfinished wood; this is not recommended for any shiny or sleeky finished piece of wood.
Whitewashing leaves a beautiful weathered look and due to its makeup (differing from regular paint) the paint doesn't penetrate the wood. For a more weathered look you can so sand of some places of the wood. For a more durable situation you lot should add together a topcoat of polyacrylic, peculiarly in high moisture areas such every bit bathrooms or outdoors.
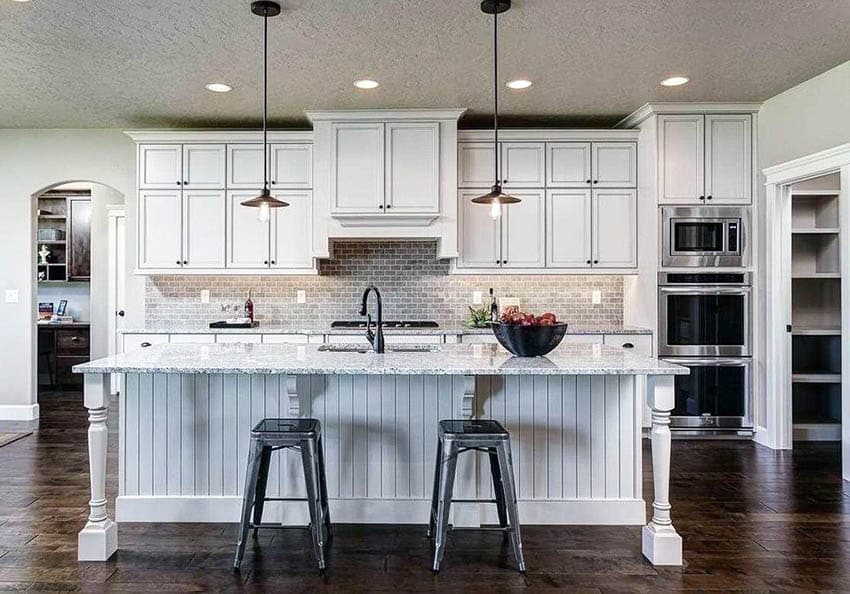
For more wood kitchen ceiling designs visit our gallery page.

What Product Can I Use To Clean And Protect My Stained Tongue-and-groove Ceiling,
Source: https://designingidea.com/tongue-and-groove-ceiling-flooring-walls/
Posted by: riveratoeopla49.blogspot.com
0 Response to "What Product Can I Use To Clean And Protect My Stained Tongue-and-groove Ceiling"
Post a Comment